Have you decided that Shade Sails are just what you need, but you don’t know where to start? SBF INTERIORS AND OUTDOOR SOLUTIONS LIMITED is for you!

Our friendly team is here to guide you through the process! The first step to getting your new shade sails installed is to call or email our offices! We ask that you email us a picture of the area you wish to cover and any initial design ideas that you have. Then, we can provide you with a rough estimate for your project and schedule an on-site visit to take measurements and gather ideas

Check out these easy steps that take you through your project from start to finish.

Let’s begin designing!

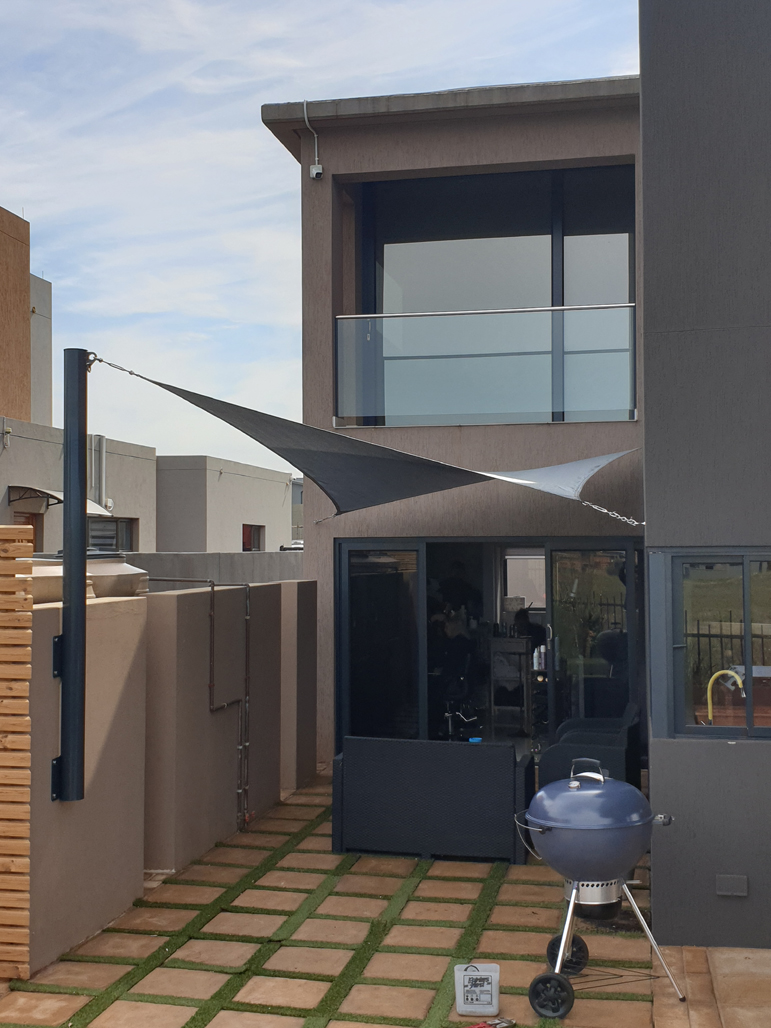
What type of sail do you like?

Cable-Tension?  -​  Lace-On?  –  Invisible Frame?

  1. Lace-on and Invisible Frame sails are pretty straight-forward when it comes to design. It just needs to fit your existing structure. So you get to choose a fabric type and color and we’ll measure and install it!
  2. If you choose a Cable-Tension Shade Sail, check out these design tips:

 Overlapping Sails

Overlapping sails can get you the shade you want and have a really nice look. Overlapping shade sails should be at least 3 feet apart so that they do not rub against each other.

Height Differences 

If the attachment points are all at the same height, the sail will sag a bit in the middle and move more in the wind. Using different heights to create a Hypar or Twist shape will create a tight sail that doesn’t move about in the wind. It also makes for a more dynamic look!

Curved Edges

Don’t forget to account for the curved edges! Cable Tensioned sails will have a natural curve along the edges. The longer the side, the deeper the curve. We can make the curve as minimal as possible, or deeper for a more dramatic look.